Scientific Solutions ® Inc.
OmegaMeter Ionic Contamination Measurement Systems
Resistivity Sensor for Omega Meter

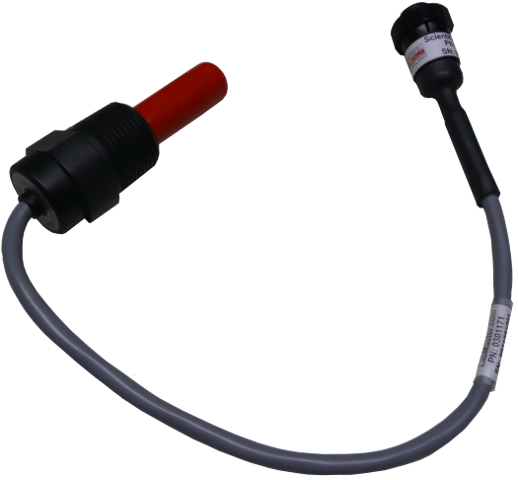
Picture shows the Resistivity Sensor with cable and electrical connector
Description
In the OmegaMeter, the resistivity is measured by use of a sensor that comes in contact with the test solution and by circuits that take the sensor's measurement and convert it to a reading on the LCD screen.
Here are the steps to replace a sensor
- Make sure the test cell is drained of fluid
- Unplug the OmegaMeter from AC power
- Unplug the Resistivity sensor electrical connection
- You will have to unscrew the connector housing
- Then separate the connector
- Carefully remove the Resistiviy Sensor from the plastic pipe
- The Resistiviy Sensor is threaded and you will need a wrench to unscrew the sensor from the plumbing
- Remove the old Resistivity Sensor
- We recommend you use some plumbing Teflon tape around the threads of the replacement Resistivity Sensor
- Carefully screw in the new sensor making sure it is snug so as not to leak around the threads
- Plug in the Resistivity Sensor electrical connection
- Test for leaks
Once the new sensor is in place and you are sure you have no leaks, then you should perform a Chemical Verification using the Scientific Solutions #3 Standardizing Solution to verify correct operation.
| Calibration Value | 0.10 Constant |
|---|---|
| Overall Dimensions | 60mm L x 25mm D 2.4" L x 1" D |
Specifications subject to change without notice.
Scientific Solutions liability, trademarks, and export notices apply.
Copyright © 1972-2025 Scientific Solutions - All rights reserved.